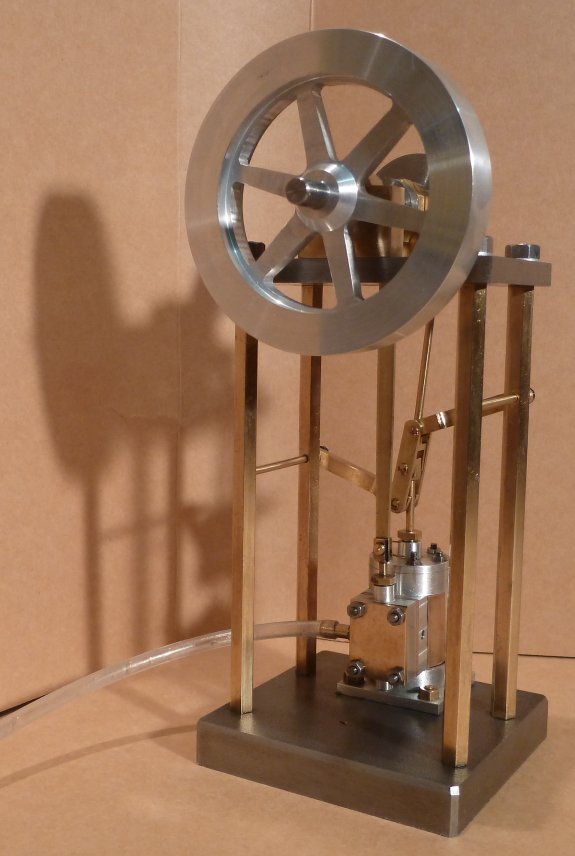
The late Elmer Verburg designed quite a few relatively-easy-to-build model engines. All are made from bar stock. The second one I have made is #32, the “Tall Vertical Open Column”. As many people do, I made a number of minor changes. These are described here, along with some construction notes I wrote to help myself, some observations and some pictures.
The plans can be found online in several places: there are several “Yahoo Groups” as well as “jon-tom.com“. I have also uploaded them (see “Files” section).
Notes and Comments
I opted not to paint the base and top platform, having previously made a mess of painting. Instead, I left them relatively “raw”: the as-rolled large faces of the bar stock were very lightly cleaned up and the edges were draw-filed. I’m fairly happy with this approach and like the contrast with the shiny flywheel and brass components.
In the interest of simplifying construction – and reducing the need for careful working, which is not my strong point – an alternative method of constructing the eccentric sheave and the arms that ensure a straight-line motion of the piston rod were used. See the “Files” section below.
The only problem encountered on assembly was that the straight-line that the arms followed did not match the piston rod. It is worth making the holes on the base plate of the cylinder assembly a bit slack to allow for adjustment but I ended up having to insert a 15 thou shim under one corner to get the motion to be “good and free”. I suspect that this is due to having used quite small AF hexagon rod for the columns such that it didn’t pull itself square on tightening. On the other hand, it could simply be a misplaced hole.
Quite a few of the joints leak slightly – see the video – since I just left them as metal-on-metal.
Some other examples on the web:
- a YouTube video
- A couple of pics on Tom Wade’s site
- A thread on Home Model Engine Machinist forums describing a build
Files
- Scanned plans and notes from Elmer’s book.
- My additional construction notes.
- Dimensioned Drawings of my variations
- Eccentric Sheave (GIF)
- “Arms” (GIF)
- Video (MP4, 4Mb) – running on one breath
- More pictures
- View from the cylinder side
- View from above